Unleashing Creativity with Resist Stamping Technique: A Comprehensive Guide
Stamping is a versatile and popular technique in the world of crafting, and one of the most intriguing stamping techniques is resist stamping. With resist stamping, you can add depth, texture, and stunning visual appeal to your projects. In this blog post, we will dive into the world of resist stamping, exploring its benefits, and providing step-by-step instructions to help you master this technique.
What is Resist Stamping?
Resist stamping involves creating a resist effect on your paper or cardstock, meaning that certain areas of the stamped image resist ink or paint applied over them, resulting in a striking contrast between the stamped image and the background.
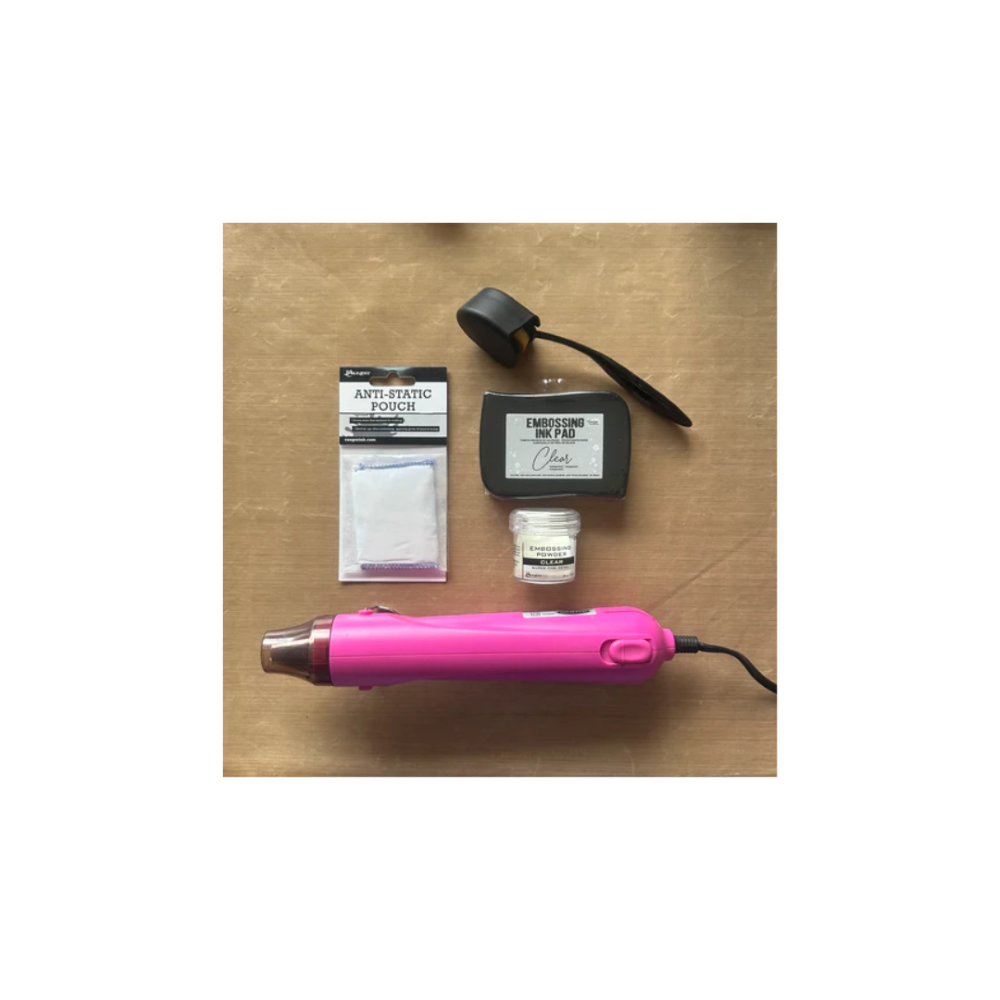
Materials Needed:
- Cardstock or paper
- Stamps of your choice
- Embossing ink or clear ink pad
- Clear embossing powder
- Heat tool
- Ink pads or watercolours
- Paintbrush or sponge daubers

Step 1: Preparing Your Surface
Start by selecting the cardstock or paper you wish to use for your project. Ensure it is clean and free from any dust or debris. Trim it to the desired size if necessary.

Step 2: Stamping the Image
Ink your stamp with embossing ink or a clear ink pad. Press the stamp firmly onto the cardstock, ensuring even and complete coverage. You can stamp multiple images or create a pattern if desired.

Step 3: Embossing
Sprinkle clear embossing powder over the stamped image while the ink is still wet. Tap off any excess powder and return it to the container. Use a heat tool to melt the embossing powder, holding the tool a few inches away from the paper. Move the heat tool in a circular motion until the powder melts and becomes glossy.

Step 4: Adding Color
Now comes the exciting part! Use ink pads or watercolours to add colour to your project. Apply the ink or paint directly over the embossed image using a paintbrush or sponge daubers. The embossed areas will resist the colour, creating a stunning contrast with the background.

Step 5: Finishing Touches
Allow the ink or paint to dry completely. Once dry, you can further enhance your project by adding additional stamped images, sentiments, or embellishments.

Resist stamping is an incredible technique that adds depth and dimension to your projects, elevating them to new artistic heights. Whether you're creating cards, scrapbook pages, or mixed media art, resist stamping opens up a world of creativity and possibilities. With the step-by-step instructions provided in this guide, you can confidently embark on your resist stamping journey and watch your projects come to life with captivating designs.
So, gather your supplies, unleash your creativity, and start experimenting with resist stamping today. Get ready to be amazed by the stunning results this technique can achieve! Happy crafting!